As those of you who know me know, I spend most of my life on
Pinterest. (It's an addiction!) It's part of what sparked the idea for this blog, and got me started / will keep me going on DIY projects.
So when I saw
this pin, I thought - I can do that! And, so I did - with just a few minor changes. I didn't have any scrapbook paper, like the original post I found on Pinterest suggested, and
Michaels didn't have any that I loved, so I headed over to
Joann Fabrics and bought a few of the scrap squares for $1 each to make this lovely marker board.
This is a great way to get rid of extra scraps of fabric that you've got laying around.
Here's what you'll need for this project:
- A picture frame (mine came from Michael's in a 2 pack)
- Hot glue or fabric glue
- Scrap of fabric big enough to fit into the frame, with a little extra on the sides to attach it
- Magnets
- Scissors
- An iron/ironing board - not needed if your fabric isn't wrinkled!
Some notes: You'll be better off getting the lightest picture frame you can find. The lighter it is, the less magnets you'll need to keep it from sliding down the fridge. (Yes, I learned this the hard way.) Also - make sure the fabric you pick is a light enough color that when you write on the marker board, the writing shows up against the background.
This was a super easy project. Lay the fabric face down on a flat surface. Take the cardboard back out of the picture frame and lay it over the fabric. Cut around the edges so that you have just enough to cover the cardboard, with a little extra so that you can attach it to the back.
I made sure to pick a fabric that you couldn't tell if it was crooked - stripes would not have worked well for me! :)
Next, apply glue to the back of the cardboard, and fold the edges of the fabric over on top of the glue.
Do this for each side.
Then, you'll want to make sure the corners are secure too, so they don't show from the back of the frame.
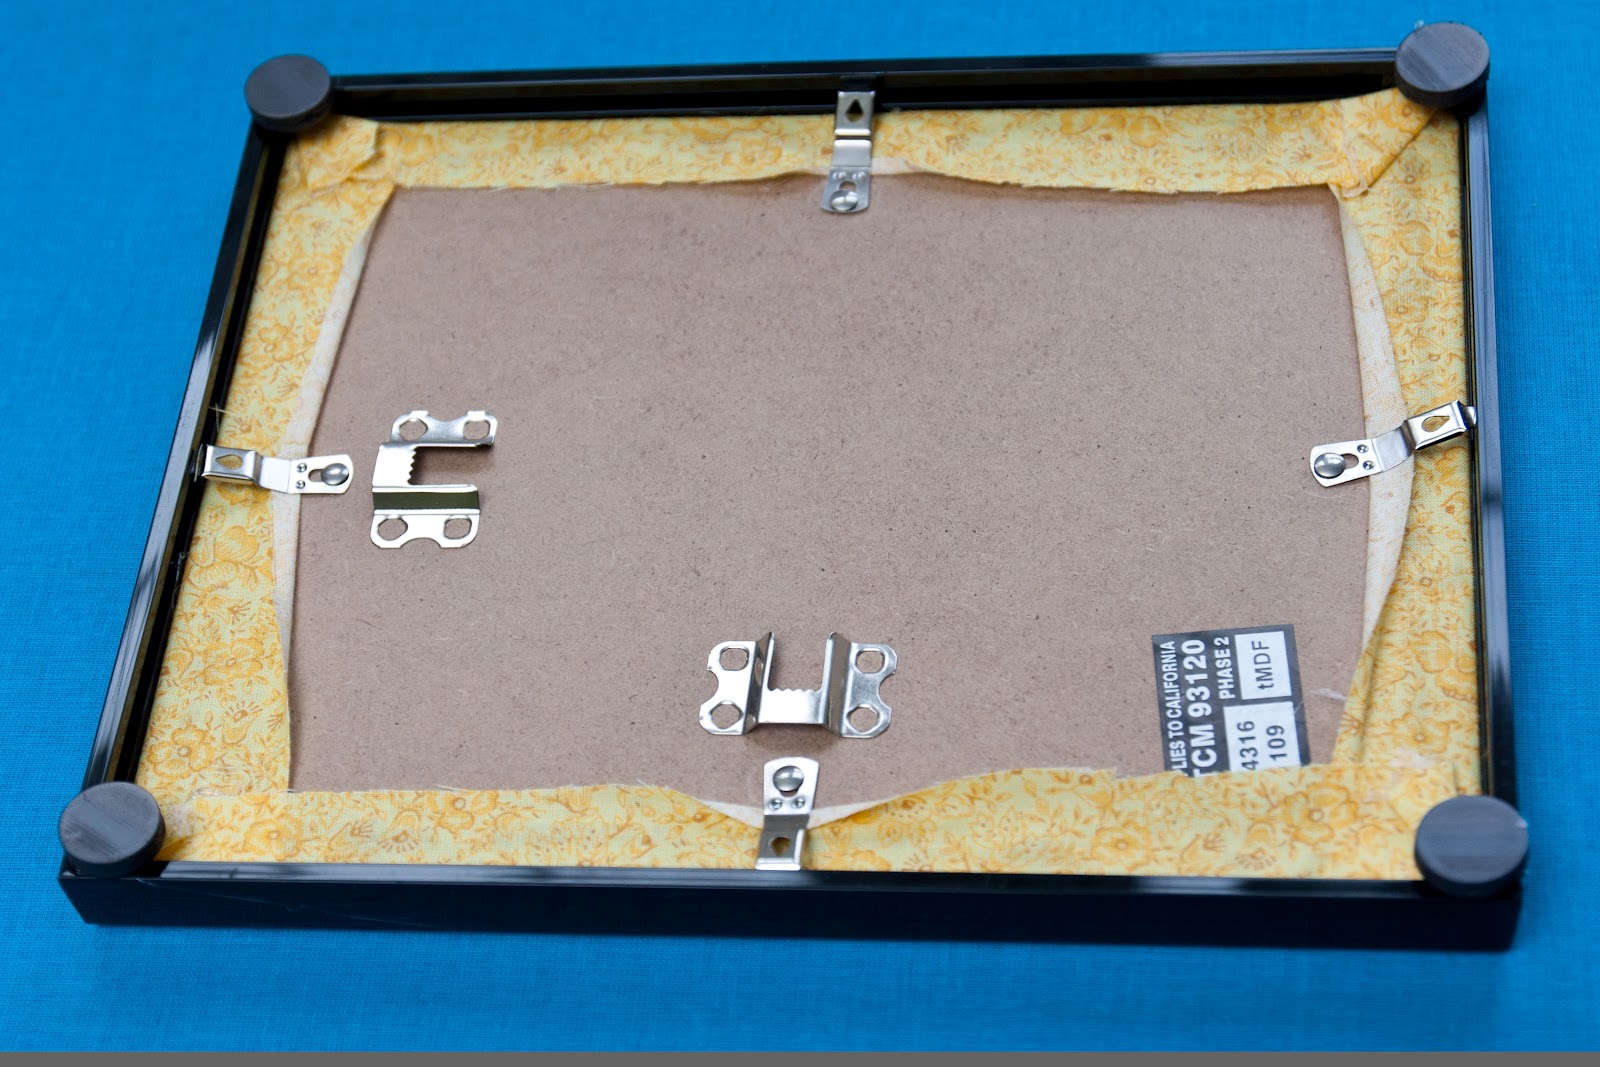
Let the glue dry, and flip over the cardboard. This is what you should have!
Slide the cardboard back into the picture frame behind the glass, and secure the fasteners on the back just like you would if you were putting in a picture.
Finally, glue magnets to each corner. It helps to pinch the corner of the frame, to make sure the magnet won't show past the sides of the frame. I think this is where it might've been helpful to get a thicker frame, but that would've made it heavier too - so you'll have to make that choice.
When the glue dries, test the board on the fridge - if it doesn't stay in place, add a couple more magnets to the middle of the long sides of the frame.
And voila! You have a home-made markerboard.
Happy crafting! If you make your own, let me know how they turn out!